


When I am not making images, I am usually drooling over them. But rather than wedding or children, I am usually pouring over design blogs, Pinterest and the like at furniture, rooms and things of the DIY nature. I think it all began with Trading Spaces, when I lived in my old third floor apartment downtown and dreamed of the possibilities. Now, ten years into making our house into home, I am still scheming and hatching new plans on how to renovate, rearrange and redesign the elements in our home. I am proud to say that many of the furniture pieces in our home are thrifted in one way or another, and then in many cases refinished by me. It is my number one creative outlet for certain.
My most recent conquest was putting together a big boy bed for E. He has been sharing space with us in our third floor master suite for some time now and had been using the crib-turned-daybed until his feet are crammed in to the corner. I wanted something modern and fun, but was definitely not interested in spending some outrageous amount of money for pressboard. I had been inspired by some DIY bed ideas, particularly this Jeep bed I found on Pinterest; a simple Ikea Bed hack.

So in my weekly jaunts to Restore, I came across a neat headboard that had some nice mid century lines and was most definitely solid wood. One problem- it was split into two pieces. Cleanly, mind you, but split. I dug around the random bed frames and found the footboard and then went to find out what I could get them for. Since there were no rails or slats, I got the pieces for 3 bucks! And into the garage they went (in my thrifted furniture hospital.) A few weeks later, I found solid maple rails from Amvets, and I was set.
Here is a view of the headboard from the back....I think it must have been pretty awesome to see in its mid century glory!
Here is a shot of the jerry rigging it took to get the pieces back together. Not proud of this, but having been apart for some time had warped the wood a bit. Besides it is against the wall!Here is a view of the headboard from the back....I think it must have been pretty awesome to see in its mid century glory!


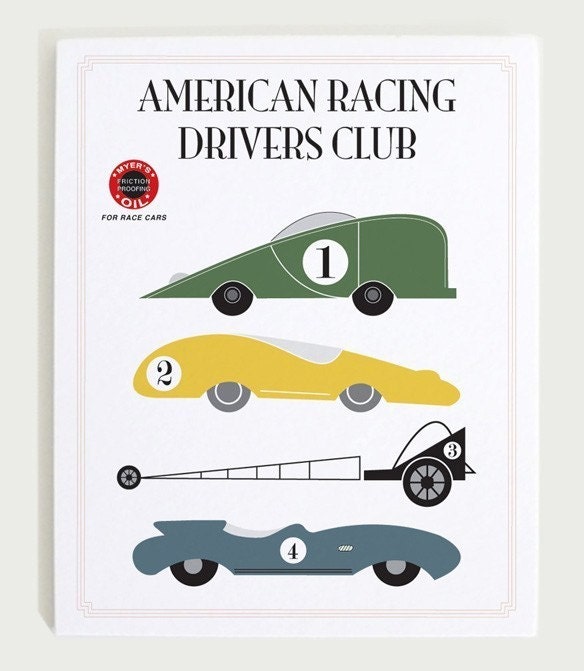
Of course my idea process always takes a bit and definitely evolves over time, but I knew that by the lines of the bed I wanted to put together some sort of vintage race car theme (with out being too literal), similar to the art and toys I had been adding to the space. I had noticed too, that many of the pieces of made-over furniture I had been drawn to were painted, so I decided to go that route.

I sanded and reattached the pieces and then painted them glossy white.
I then made a stencil out of clear contact paper to create a sort of Herbie the Love Bug type of racing number. I absolutely am smitten with typography and used my number one go to Dafont.com to find a nice san serif font befitting a vintage race car number (22 for E's birthday.) Once the stencil was cut, I painted the shapes using a paler blue and deeper red.


I am really happy with how the bed turned out...it is an oddly shortbed overall, but E's bedroom is unique in that it is in the turret of our house, so it is a circular space with lots of doors on the flat side. (The room may have been originally the master suite's dressing room, thus it has massive closets.) It fits perfectly within the space and goes with both the dresser and nightstand that I also thrifted and restored. I think overall, I spent less than $100 on all three pieces- $40 for the dresser which I repainted and stained, $5 for the night stand and $13 plus the price of paint for the bed. Not bad for a solid wood bedroom set! Oh, and thanks to Young House Love for giving that extra incentive and a place for everyone to share their own Pinterest inspired projects!


1 comment:
This is sooo cute!! I love it!
Post a Comment